
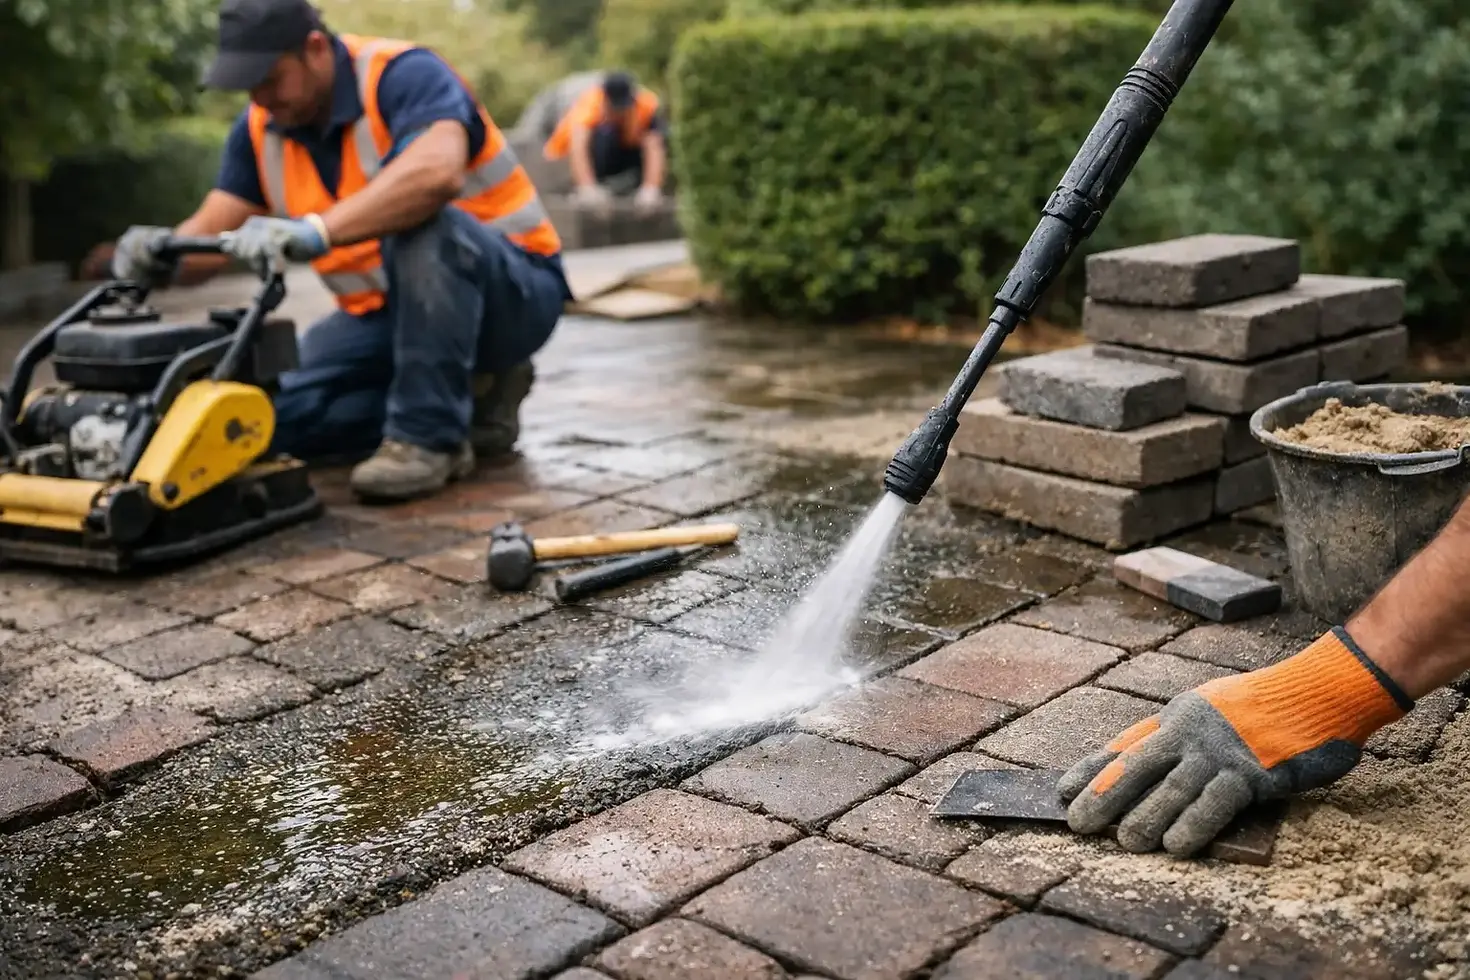
What the Paving Restoration Process Involves
A tired driveway or patio does not automatically need replacing. In many cases, the right paving restoration process can remove years of dirt, algae, black spot, weeds and staining, then deal with the failed joints or damaged areas that make a surface look neglected.
The difference is in the diagnosis. A quick blast from a domestic pressure washer may shift surface dirt, but it can also leave stripes, damage softer materials, wash out joints and make an existing problem worse. Professional restoration is a planned job, based on the paving type, its condition and the reason it has deteriorated.
SavingPaving has been established since 2001, bringing more than two decades of hands-on knowledge to driveway and patio projects. The aim is straightforward: restore the surface you already have, where it is practical to do so, and save you the major cost and disruption of replacement.
Why a proper assessment comes first
No two surfaces weather in quite the same way. A shaded patio may be covered in moss and black spot, while a front driveway can be affected by oil staining, loose blocks, sunken sections or joints that have broken down over time. The visible dirt is often only part of the job.
A site survey allows the condition of the paving, drainage, edging, joints and surrounding areas to be checked before any work starts. This matters because the treatment for natural stone is not necessarily right for block paving or concrete slabs. It also helps identify whether a stain is likely to lift, whether repointing is required, and whether localised repairs should be completed before cleaning.
You should receive a clear, itemised quotation rather than a vague estimate. That means you know what work is included, what it costs and where any repair work is needed. There should be no hidden extras appearing once the surface has been cleaned.
The paving restoration process, step by step
1. Clearing and preparing the area
The work starts by removing loose debris, heavy weed growth and obstacles from the surface. Edges, planting and adjoining areas are protected where necessary. Good preparation keeps the job tidy and gives the cleaning equipment clear access to every section.
If there are loose paving units, damaged edging or uneven areas, these are assessed at this stage. Cleaning a surface before obvious remedial work is considered can be false economy. It is better to address the cause of movement or deterioration first where possible.
2. Treating stains, algae and black spot
Green algae, moss and lichen make paving slippery as well as unattractive. Patio black spot is often more stubborn. It is not simply surface dirt and rarely disappears with ordinary washing alone.
The correct treatment depends on the surface and contamination. Specialist cleaning products and controlled methods are used to break down biological growth and lift ingrained staining without taking unnecessary risks with the paving or nearby garden areas. Oil stains may also need targeted treatment rather than repeated high-pressure cleaning.
Results depend on the age of the stain, the material and how deeply it has penetrated. An honest contractor will explain where an improvement is realistic and where a permanent mark may be reduced rather than completely removed.
3. Deep cleaning without stripes or damage
Once the appropriate treatment has been applied, the surface is deep-cleaned using professional equipment. This is where experience counts. The pressure, water flow and cleaning technique must suit the material being worked on.
A proper clean removes embedded dirt from the texture of the paving and delivers an even finish, not the striping often left by unsuitable equipment. It also avoids needlessly scouring softer stone, disturbing sound joints or splashing dirt across walls, fences and planting.
Block paving, natural stone, crazy paving, concrete slabs, pattern imprinted concrete and timber decking all require a different approach. The best result is not produced by using maximum pressure. It comes from using the right method for the surface in front of you.
4. Repairing failed joints and pointing
Cleaning often reveals the true condition of the joints. Missing, cracked or loose pointing allows water and debris into gaps, encourages weed growth and leaves a patio looking unfinished even after a thorough clean.
Failed pointing is removed properly before replacement material is installed. Depending on the paving and the existing joint construction, this may involve premium resin jointing products or traditional sand and cement mortar. The right choice is based on joint width, surface type, movement and the finish required.
This stage is more than cosmetic. Sound joints help keep paving stable, reduce places where weeds can establish and give the whole area a cleaner, more complete appearance. Rushing the repointing stage is one of the quickest ways to spoil an otherwise good restoration.
5. Allowing for curing, then protecting the result
Where new pointing or repairs have been completed, the area needs suitable time to cure before normal use or any protective treatment. Weather conditions matter here. Rain, cold temperatures and damp conditions can affect timings, so a responsible contractor will not promise an unrealistic schedule just to finish quickly.
Some surfaces may benefit from sealing once they are clean, dry and stable. A suitable sealer can improve appearance, make routine maintenance easier and help limit the return of dirt and staining. It is not right for every material or every situation, however. The surface must be fully dry, and the product must match the paving. Applying the wrong sealer can create patchiness, trapped moisture or an unnatural finish.
What makes restoration better value than replacement?
Replacement involves removing the existing surface, disposing of waste, preparing the base and paying for new materials. Costs can rise quickly, particularly where the underlying structure is still sound and the real problems are staining, weed growth, worn joints or a handful of localised repairs.
Restoration focuses the budget where it is needed. A deep clean can bring back the original colour and texture. Repointing can strengthen the finish. Small repairs can remove trip hazards or untidy areas. Together, these measures can make an outdoor surface look cared for again without the cost of starting from scratch.
That said, restoration is not a cure for every problem. Severe widespread movement, extensive cracking or a failed base may require a different discussion. A proper survey gives you a realistic answer before you spend money.
How to keep restored paving looking better for longer
After restoration, basic upkeep goes a long way. Sweep off leaves before they break down, deal with oil or food spills promptly, and keep soil and plant growth from building up against the paving edges. Shaded areas may need periodic treatment because moss and algae naturally return where moisture lingers.
Avoid aggressive DIY pressure washing, especially around pointed joints and softer stone. If you are unsure whether a cleaner or sealer is suitable, ask before applying it. A product that works well on one surface can cause lasting problems on another.
For homeowners in South Croydon, Bromley, Warlingham, Purley, West Wickham and surrounding areas, SavingPaving provides free site surveys and no obligation quotations. Call 0203 633 0981, or visit www.savingpaving.co.uk to contact the team by WhatsApp or use the enquiry form.
A clean, stable and properly pointed surface changes how the whole property feels. Start with a survey, get a clear explanation of the work required, and make the most of the paving already outside your door.